IFR Training: Lesson 1-3
Sunday, September 18, 2011
by asalvo
Last weekend I started my IFR (instrument) flight training, as well as the checkout process in the club's Cessna 182. Since I have less then 100 hours total time, I need 10 hours of dual instruction in the 182 before I can take it out on my own. I figured since it was equipped with a Garmin 430 it would be a bad plane to start my instrument training in, and, get something extra out of that 10 hours of dual instruction.
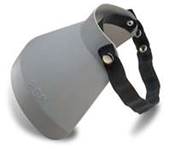
Instrument training requires a significant amount of simulated or actual instrument flying. For simulated instrument flying, I hear a view limiting device. This restricts my vision so that I can only see the instruments (dashboard). I do have to occasionally glance up to check the compass so that I can reset the heading indicator.
My initial impression of instrument training is that I’m starting over from scratch. Just like when I was first learning to fly, I’m about 1-2 seconds behind the plane and required workload. I’m missing the occasional radio call (or rather I hear it, but I’m not comprehending it to the point that I can read it back), and chasing the gauges. At least when I take the hood off and go back to flight by visual references, I feel very comfortable and also feel as if I’m flying better. I have heard that getting your instrument certification makes you a better overall pilot, and it seems like I’m already starting to see a little bit of that.
The first part of the course is all about air work….over and over and over again. At first this sounded like it was going to be boring, but now I realize that it’s very important to build a solid foundation of basic flying skills using instruments only. You can fly an approach if you can’t read the approach plate, or pull it up on the GPS if you are wandering all over the sky!
Things I Need to Work On
1. New IFR focused checklists for the planes I will be flying
I’ve created my own custom checklists for the Cessna 150 that I started my training in, and the Piper Archer, which I took my private pilot check ride in. They contain more steps in larger font then what you usually buy. I also add in stuff that I was always forgetting and stuff that I felt was really important. Another thing I did, was to break up my check onto separate pages, one for each phase of flight. This way I can always be working with one page the size of my knee board (~5” x 8”) instead of one really big page, and that page has exactly what I need.
So far with the C182, I’ve been using an off the shelf checklist. It’s pretty good, but I miss my custom checklists, and I’m always searching for the relevant information. I mean, once I take off, I don’t need the pre-takeoff checklist anymore. With the increased workload that comes with flying IFR, I need more items, especially around prepping for an approach. By having a checklist that I can follow, I will be able to commit stuff to memory easier until it starts to become second nature. This should allow me to keep up with the workload and the plane.
2. Improve instrument scan paying more attention to the attitude indicator
The instrument scan refers to scanning the 6 main flight instruments in a logical fashion, 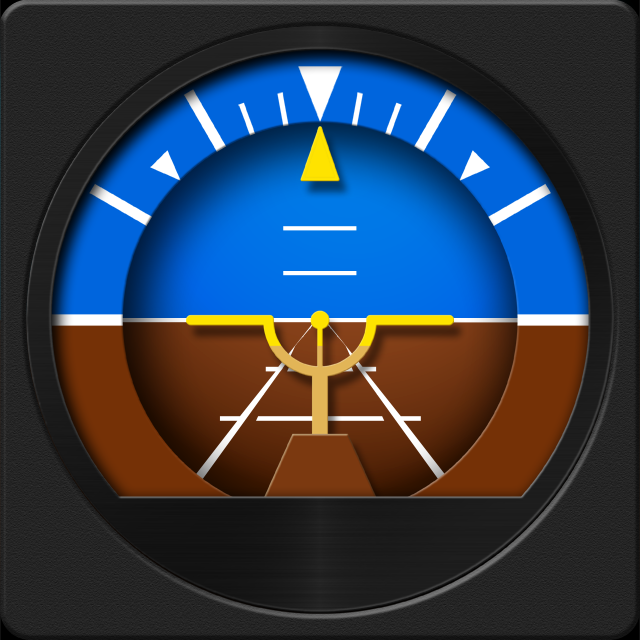 always coming back to the attitude indicator. The attitude indicator is probably the most important of the 6 instruments, as it gives you immediate direct feed back on your pitch and bank.
I do a pretty good job with bank indication, but pitch is something I need to work on. There is not a very large amount of vertical movement shown on the indicator for a given change in altitude or vertical speed. I’m just not used to detecting those small changes and taking the correct action.
3. Fly more relaxed
When I started flying for my private pilot license, I had a death grip on the control yoke ad was very tense. Unfortunately this has returned with the start of instrument training. I’m not surprised by this, and I know based on past experience that it should get better. However, in order to make progress, I will need to force my self to relax.
Why is this important? With a iron-clad grip on the control yoke, any little movement in my arm will cause the plan to change pitch and/or bank. For example, when leaning slightly to the right to reach out and load an approach into the GPS, I inadvertently pull the yoke with me. If I was more relaxed this would not happen. The plane will not plummet to the ground if you take your hand off the yoke.
4. Take baby steps
There is a common saying in aviation amongst pilots, and that is, “fly the plane”. What this means is, there is nothing more important that you should maintain positive control of the aircraft, returning to straight and level flight when in doubt. As I mentioned before, trying to pull up an approach plate, or load an approach into the GPS isn’t going to do me any good if I accidently pitch down 10 degrees and started a 1000’ per minute decent without realizing it.
So what I need to do is slow everything down and take baby steps when performing other tasks. Here is a step by step example of what I mean using the task of loading an appoach into the GPS.
- Scan instruments, fly the plane
- Move hand to GPS
- Scan instruments, fly the plane
- Press PROC, press enter to SELECT APPROACH
- Scan instruments, fly the plane
- Turn knob to select approach and press enter
- Scan instruments, fly the plane
- Select Vectors to Final or turn knob to select Initial Approach fix
- Scan instruments, fly the plane
- Choose to load or active approach
- Scan instruments, fly the plane.
- If approach was activated, verify that COM and NAV radios were set correctly.
- Scan instruments, fly the plane
- If this is a LOC (localizer) or ILS approach press CDI button to switch VOR 1 from GPS guidance to LOC guidance
If you were to take out all of the odd number steps and just execute the GPS stuff, it should take 5-7 seconds. However, if you are not scanning your instruments for 5—7 seconds, you are not flying the plane and could end up who knows where. I’m sure that more experienced IFR pilots can divert their gaze from the instruments for a little longer then I can, but you are never going to be graded on that.
5. Practice with the Garmin 430 simulator
Garmin has a free simulator (Windows XP 32 bit only, so you may need a virtual machine) for the 430 that you can download and practice with. Coupled with the instruction manual, this is a great way to learn the in’s and out’s. While it’s fairly intuitive, I find myself often confused as to when to press enter versus when to push in on the knob, which seems to me like an “enter” function.
Conclusion
Getting my instrument ticket is going to open up a whole new world of flying for me (and those brave enough to fly with me. I already feel that it is making me a better pilot, and by the time I am done, I know that I will be a better pilot (another 40+ hours with a flight instructor better do something for ya). I hope to continue to post about my journey towards achieving this rating for two reasons. Writing these posts makes me think about my training in a different way, and that’s always a good thing. And second, maybe I can help someone else out there.
In closing, I would like to invite anyone who has any questions on becoming a private pilot or getting their instrument rating to contact me. I always love talking about aviation and flying. If you are looking for a place to get instruction in the Madison area, I would highly recommend Wisconsin Aviation. Finally, if you are already a pilot in the Madison area and are looking to stop renting, but don’t want to take the leap and purchase an aircraft, you might want to check out my flying club, Capital City Flyers.